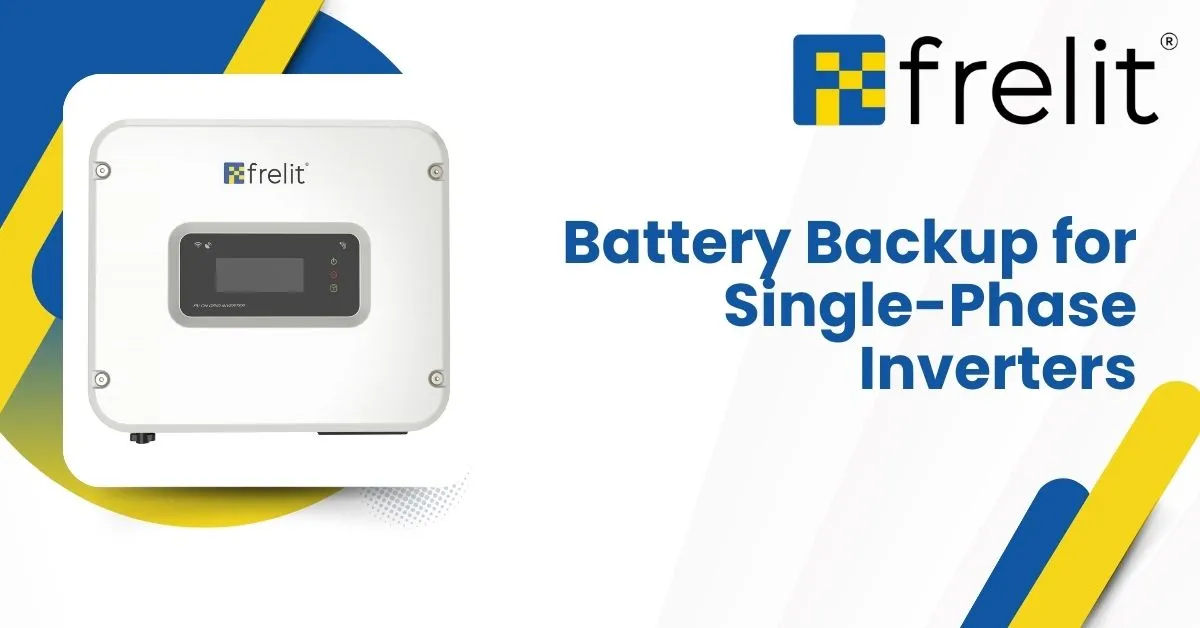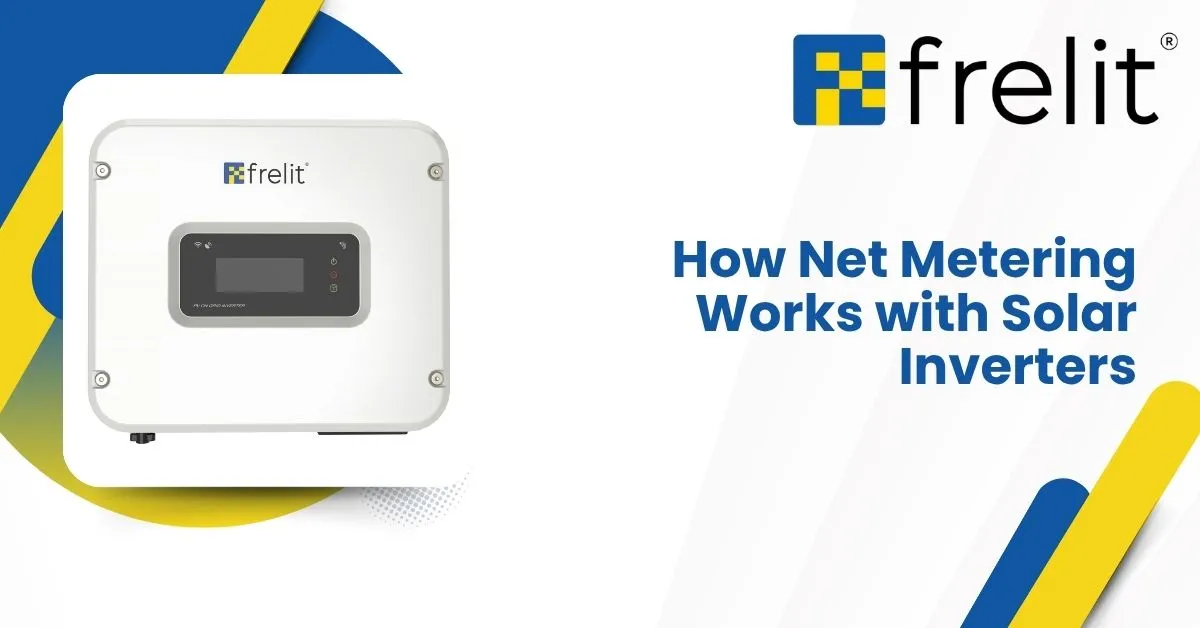
Installing a solar inverter is one of the most crucial steps in setting up a residential solar power system. Whether you’re opting for an on-grid, off-grid, or hybrid setup, a properly installed inverter ensures efficient power conversion and long-term performance. In this solar inverter installation guide, we walk you through everything you need to know — from site selection and wiring to safety checks and final setup.
What Does a Solar Inverter Do?
A solar inverter converts the direct current (DC) electricity generated by your solar panels into alternating current (AC), which is used to power household appliances. It also manages power flow between your solar system, grid connection, and any backup batteries (in case of hybrid or off-grid systems).
Pre-Installation Checklist
- Assess your power needs (in kW)
- Choose the right type of inverter (on-grid/off-grid/hybrid)
- Confirm panel compatibility and inverter capacity
- Ensure proper permissions (if grid-connected)
- Hire a certified solar installer
Tools & Equipment Needed
- Solar inverter unit (Frelit recommended )
- AC and DC cables
- Solar panel array
- Mounting hardware
- Circuit breakers and safety disconnects
- Surge protectors
- Grounding wire
- Battery (for hybrid or off-grid setups)
Step-by-Step Solar Inverter Installation
1. Site Selection
Choose a well-ventilated, shaded, and dry indoor or covered outdoor wall for inverter mounting. Avoid areas exposed to direct sunlight or water.
2. Mount the Inverter
Secure the inverter firmly on a flat wall using manufacturer-provided brackets. Keep adequate spacing around it for air circulation and servicing.
3. Connect the Solar Panels
Run DC wires from the solar panel array to the inverter’s input terminals. Use MC4 connectors and proper insulation to avoid leakage or faults.
4. AC Wiring to the Home Grid
Connect the output (AC side) of the inverter to your main power distribution board using circuit breakers. Ensure proper earthing is in place.
5. Optional: Connect Battery
If using a hybrid inverter, link the battery system to the battery port on the inverter. Ensure it matches the voltage and current ratings.
6. Install Monitoring System
Modern inverters like those from Frelit Energy offer Wi-Fi-enabled apps for real-time performance tracking. Set up the monitoring platform as per the manual.
7. Safety & Testing
Double-check all connections. Turn on the DC and AC switches and monitor the inverter’s startup sequence. Verify that it’s converting power and syncing with the grid (if applicable).
Need help installing your solar inverter? Contact us today for professional installation support and smart solar solutions tailored to your home!
Post-Installation Tips
- Schedule regular maintenance and inverter health checks
- Keep the inverter area clean and dust-free
- Monitor performance weekly using a mobile app or LED indicators
- Ensure firmware is always updated
Common Mistakes to Avoid
- Installing in direct sunlight or humid areas
- Undersizing the inverter compared to panel output
- Loose cable connections
- Using incompatible batteries or panels
- Skipping grounding and surge protection
Why Choose Frelit Energy for Solar Inverters?
At Frelit Energy, we offer high-efficiency, smart solar inverters designed for Indian homes. Our inverters come with advanced MPPT technology, robust safety features, mobile app integration, and long-term warranty support.
Frequently Asked Questions
What is the best location to install a solar inverter at home?
A solar inverter should be installed in a cool, dry, and shaded area, ideally indoors or under a protective cover. Proper ventilation and easy accessibility are essential for performance and maintenance.
Do I need a professional to install a solar inverter?
Yes, it’s highly recommended to hire a certified solar technician for inverter installation. This ensures safety, grid compliance, and proper system configuration.
Can I install a solar inverter outside?
You can install a solar inverter outdoors only if it is weatherproof and protected from direct sunlight and rain. Most inverters perform best in a cool, shaded environment.
How long does it take to install a home solar inverter?
Installation time varies by system size but generally takes 4–8 hours. A basic on-grid residential setup can often be completed within a single day.
What are the risks of incorrect solar inverter installation?
Incorrect installation can lead to fire hazards, inverter failure, poor energy efficiency, and even grid disconnection. Always follow safety protocols and manufacturer guidelines.
Do I need batteries with my solar inverter?
Not necessarily. On-grid inverters work without batteries, while hybrid or off-grid systems require battery storage for backup and nighttime usage.
How do I monitor the inverter’s performance?
Most modern inverters, like those from Frelit Energy, come with Wi-Fi or app-based monitoring, allowing real-time tracking of energy production and system health.
Conclusion
A properly installed solar inverter is vital for ensuring your solar energy system functions safely and efficiently. Follow this guide or consult a certified technician to get the best results from your solar setup.


