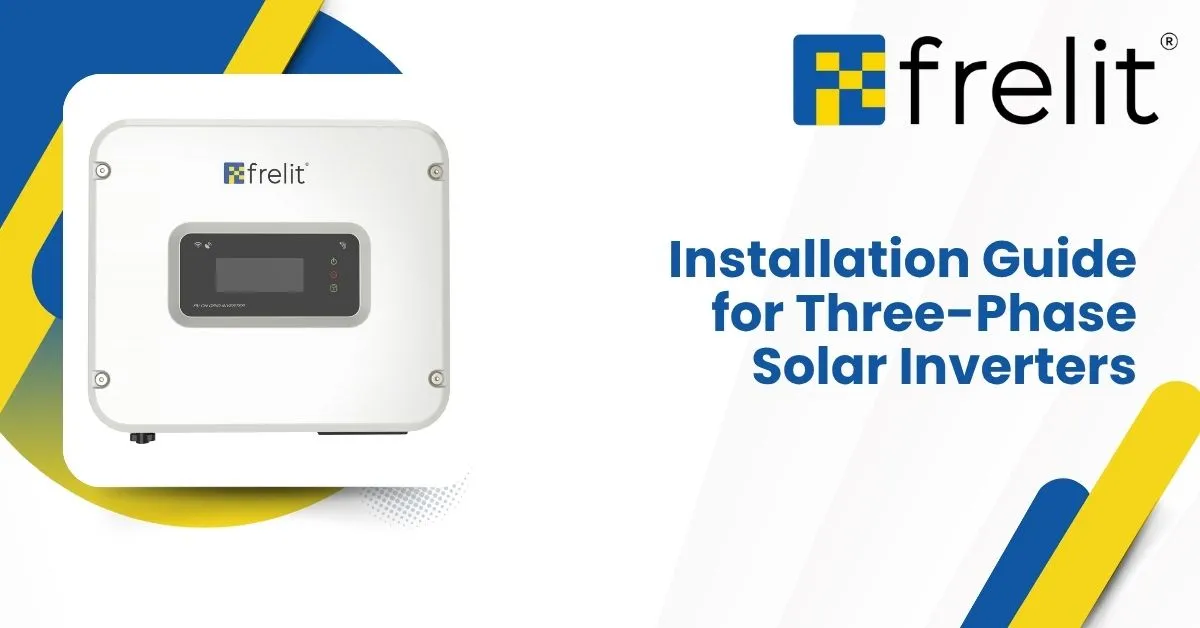
Installing a three-phase solar inverter is one of the most important steps in setting up a reliable and efficient solar power system. A correct installation ensures high performance, safety, and compliance with electrical standards. This guide provides a complete, step-by-step process for safely installing a Three-Phase Solar On-Grid Inverter, covering everything from tools to testing and maintenance.
Tools and Materials Required for Installation
Before you start, having the right tools and materials ensures smooth and safe installation. Three-Phase Solar On-Grid Inverter installations require precision, proper tools, and certified accessories to meet code standards and maximize performance.
| Tool / Material | Purpose | Notes |
|---|---|---|
| Multimeter / Clamp meter | Measure voltage and current | Ensure calibration |
| MC4 connectors | For solar panel wiring | Use weatherproof connectors |
| PV-rated DC/AC cables | Carry power safely | Correct gauge per current |
| Cable lugs and ferrules | Secure electrical joints | Use proper crimping tools |
| Earthing rod and wire | For system grounding | Corrosion-resistant |
| Surge Protection Devices (SPDs) | Protect from surges | Use both DC & AC SPDs |
| PPE (gloves, goggles, mats) | Personal safety | Must be arc-rated |
| RCDs / Isolators | For protection and control | Follow inverter specs |
Pre-Installation Checks
Before any wiring begins, ensure that your site and system are ready. Three-Phase Solar On-Grid Inverter installations need proper location, ventilation, and grounding to function efficiently and safely.
Checklist:
- Confirm inverter capacity matches PV array and grid connection.
- Verify mounting surface is stable, level, and weather protected.
- Ensure enough ventilation space (as per inverter manual).
- Check for correct earthing layout and surge protection design.
- Review DC voltage, current limits, and MPPT input configurations.
Installation Process Steps
Follow these key steps to install your Three-Phase Solar On-Grid Inverter efficiently. Always adhere to the manufacturer’s installation manual and local electrical codes.
Mounting the Inverter
- Choose a shaded, dry, and well-ventilated location near your distribution board.
- Mount inverter at eye level (around 1.2–1.5m) for easy access.
- Maintain clearance around the inverter for air circulation.
DC Side Connection (PV → Inverter)
- Turn off PV isolators and confirm no live DC voltage.
- Connect PV strings to the inverter’s DC terminals using MC4 connectors.
- Verify polarity (+/-) with a multimeter before final connection.
- Secure and label cables clearly for maintenance purposes.
AC Side Connection (Inverter → Grid)
- Connect L1, L2, L3, and Neutral correctly per the wiring diagram.
- Install AC isolator, RCD, and appropriate fuses or breakers.
- Check phase sequence and ensure proper torque on terminals.
Grounding & Earthing
- Bond inverter chassis to the earthing system.
- Test earth resistance — typically below 5 ohms (as per standards).
Commissioning & Configuration
- Power on and configure inverter settings (voltage, frequency, grid parameters).
- Connect to Wi-Fi or monitoring portal.
- Record performance parameters (DC voltage, AC output, grid sync).
Safety Precautions During Installation
Safety is the top priority during any Three-Phase Solar On-Grid Inverter installation. Working with high DC voltage requires caution, proper tools, and protective equipment.
Safety Measures:
- Always wear insulated gloves and goggles.
- Disconnect both AC and DC sources before working.
- Avoid installation during rain or high humidity.
- Use lockout/tagout procedures to prevent accidental energizing.
- Keep flammable materials away from the inverter area.
Common Installation Mistakes to Avoid
Even experienced installers can make errors that reduce performance or void warranties. Three-Phase Solar On-Grid Inverter systems demand precision, so avoiding these mistakes is crucial.
Common Mistakes:
- Reversing DC polarity (can damage inverter).
- Loose or overtightened terminals.
- Poor earthing or missing surge protection.
- Overloading the inverter beyond rated capacity.
- Ignoring firmware updates or monitoring setup.
In large-scale systems, Three Phase on Grid Inverters provide more stable and efficient energy output, ensuring smoother industrial operations.
Top Three Phase Solar Inverter Brands for Industrial Use
When investing in industrial solar inverters, choose reliable brands known for performance and long lifespan.
Some of the best Three Phase on Grid Inverters in 2025 include:
- SMA Solar Technologies (Germany)
- Huawei FusionSolar (China)
- FIMER/ABB (Italy)
- Sungrow Power Supply (China)
- Delta Electronics (Taiwan)
These brands offer high-efficiency inverters with remote monitoring, safety certifications, and strong after-sales support — ideal for industrial and commercial solar projects.
Installation and Maintenance Tips
Proper installation ensures your Three Phase on Grid Inverters operate at peak efficiency for years.
Tips for industrial solar inverter installation:
- Perform a professional site survey and load analysis.
- Ensure adequate ventilation and dust protection.
- Follow safety standards (IEC/IS compliance).
- Regularly update inverter firmware.
- Monitor performance via online dashboards.
Scheduled maintenance helps prevent energy loss, extend inverter life, and secure your industrial solar investment.
Ready to install your three-phase solar inverter the right way?
Contact us today for expert installation and professional guidance.
Testing and Maintenance After Installation
Once installation is complete, proper testing ensures your system operates efficiently. Three-Phase Solar On-Grid Inverter testing and maintenance protect your investment and improve energy yield.
Testing Steps:
- Verify open-circuit voltage (Voc) of PV strings.
- Check phase sequence and AC voltage balance.
- Inspect SPDs and isolators for proper operation.
- Test inverter performance through its monitoring app.
Maintenance Tips:
- Clean inverter ventilation areas regularly.
- Review data logs monthly for errors.
- Retorque cable terminals annually.
- Schedule a professional inspection every year.
Cost of Installation and Time Required
Understanding cost and installation time helps with budgeting and planning. Three-Phase Solar On-Grid Inverter systems vary based on capacity, labor, and site conditions.
| Factor | Typical Range | Notes |
| Inverter Capacity | 5 kW – 50 kW | Larger systems cost more |
| Labor & Setup | $300 – $1,200 | Skilled technician required |
| Electrical Accessories | $200 – $800 | Cables, breakers, SPDs |
| Installation Time | 4–8 hours | Site-dependent |
Final Checklist Before Powering On
Before powering on your Three-Phase Solar On-Grid Inverter, confirm that all safety and connection checks are complete.
Checklist:
- DC and AC wiring verified and labeled.
- Polarity and torque values confirmed.
- SPDs, isolators, and breakers installed.
- Earth continuity tested and verified.
- System configuration completed and saved.
- All covers and enclosures properly closed.
Frequently Asked Questions
How do I install a three-phase solar inverter safely?
Always isolate power, wear PPE, follow wiring diagrams, and verify voltage before turning on the system. Hire a qualified technician for grid-tied setups.
What is the cost to install a three-phase solar inverter?
The cost typically ranges between $500 and $1,500, depending on capacity, accessories, and labor rates.
Can I install a three-phase inverter myself?
DIY installation is not recommended. Improper wiring can damage components or cause electrical hazards.
How long does installation take?
Most three-phase solar inverter installations take 4 to 8 hours, depending on system size and site conditions.
How often should I maintain my inverter?
Check connections quarterly, clean the unit regularly, and schedule a professional inspection annually.
Conclusion
Installing a three-phase solar inverter correctly ensures reliable performance, safety, and long-term savings. Always follow best practices, use certified components, and perform thorough testing before connecting to the grid. For large or complex installations, hiring a certified solar professional is the best way to ensure compliance and peace of mind.


